The Reseviour and pump
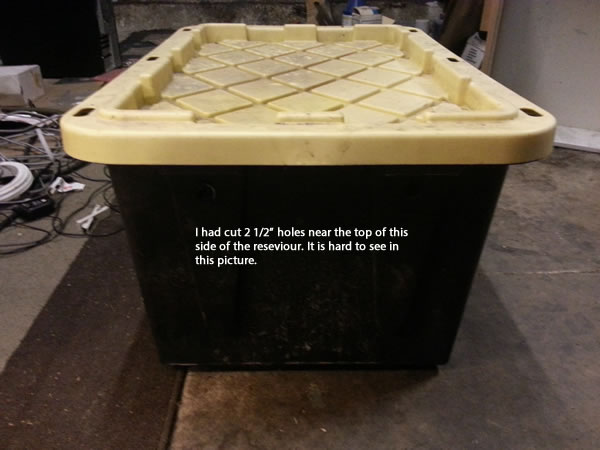
I have used large Rubbermaid containers, as shown throught the pictures, however, the lack of thickness in the wall areas made the container bow-out, which made it hard to close the lid. Sometimes, the lid would just pop open overnight due to the pressure against the walls. I found that using the following container works very well. It has the thickness needed to hold a full tank of solution, as well as a dark color to keep out the slime and mold.

I drilled out 1/2 inch holes at the top of the reseviour to allow for the output hose and input drains to enter and leave. Cut a notch into the top-side of the container to allow for the power cord to the pump to enter. Do not cut any holes into the top of the container.
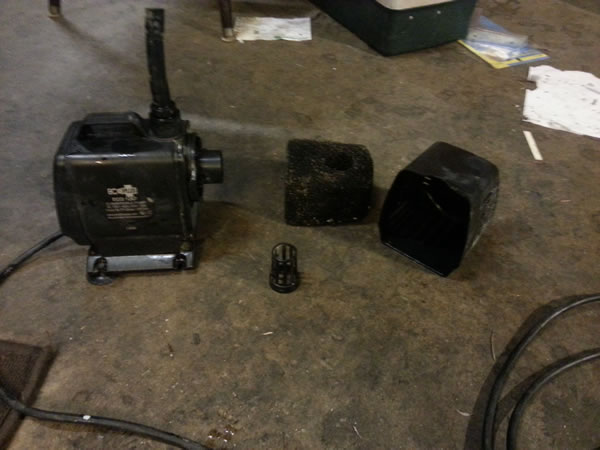
For the pump, I used an Eco Plus Eco-1267 model pump I bought at the Home Depot for about $80. This particular pump does require water to cool the motor, so you cannot let the solution "dip" too low. I would rather put a magnet based pump in it's place, but they are twice the price, at least. This 1200G/H pump was a little "overkill" for the system; 1/2 the pressure (600G/H) would work just fine.

The pump has a root guard and 1/2" outlet; perfect for this project. Be sure to thoughly clean the filter, plastic guard and inside areas of the pump after each grow.
 Your source for DIY Hydroponic Systems.